

Whether you’re building a new home, finishing a basement, remodeling a room, or repairing damaged walls, drywall is one of the most important elements of the construction process. Properly installed drywall creates smooth, durable surfaces that serve as the foundation for paint, wallpaper, and interior finishes. While many homeowners focus on the final appearance, a successful drywall project involves several carefully planned stages that ensure long-lasting quality.
Knowing what to expect during a professional drywall project helps homeowners prepare for the process, understand project timelines, and communicate more effectively with their contractor. From the initial inspection to the final sanding and cleanup, every step contributes to a finished result that looks great and performs well for years.
In this guide, we’ll walk through each phase of a professional drywall project so you know exactly what happens from start to finish.
Initial Consultation and Project Assessment
Every successful drywall project begins with a thorough evaluation.
During the initial consultation, the contractor inspects the work area, discusses your goals, and identifies any existing issues such as water damage, structural movement, mold, or damaged framing. Measurements are taken, project requirements are reviewed, and recommendations are provided based on the condition of the space.
This planning stage helps establish realistic expectations for cost, materials, and completion time.
Preparing the Work Area
Before installation begins, the work area must be properly prepared.
Furniture, flooring, fixtures, and personal belongings are protected with plastic coverings or drop cloths. If the project involves an occupied home, contractors often isolate work areas to reduce the spread of drywall dust into other rooms.
Proper preparation keeps the project organized while minimizing disruption to daily life.
Material Delivery
Once the project is scheduled, drywall panels, joint compound, tape, screws, corner beads, and other materials are delivered to the job site.
Professional contractors inspect materials before installation to ensure everything meets quality standards. Organizing materials ahead of time also helps the project move efficiently without unnecessary delays.
Installing the Drywall Panels
The installation phase is where walls and ceilings begin to take shape.
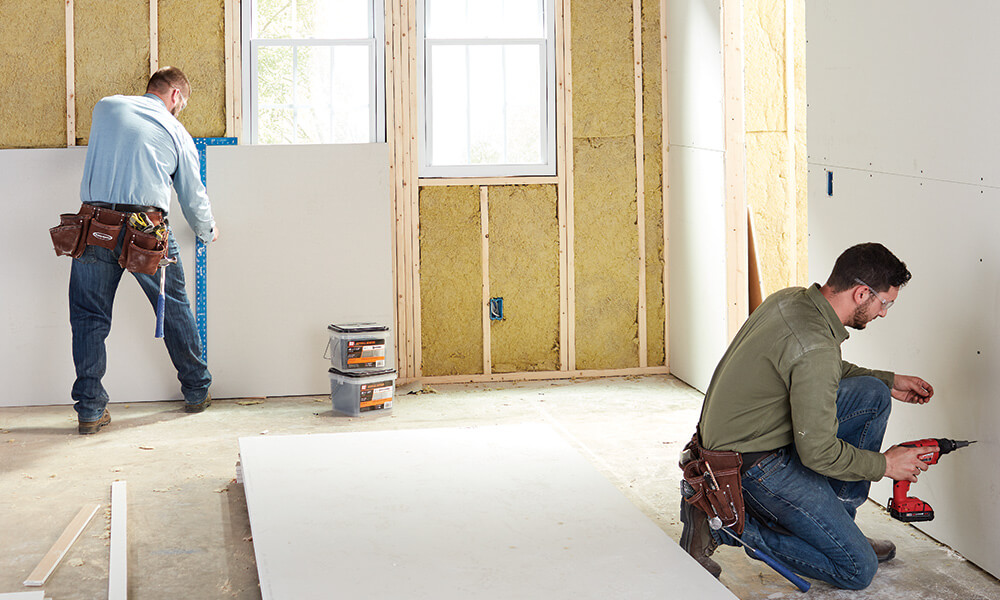
Contractors carefully measure each area before cutting drywall panels to fit around windows, doors, electrical outlets, plumbing fixtures, and other obstacles. Panels are then secured to wall studs or ceiling joists using drywall screws placed at precise intervals.
Proper installation creates a solid foundation for the finishing process.
Taping the Joints
Once all drywall sheets are installed, attention turns to the seams.
Drywall tape is embedded into a layer of joint compound over every joint to strengthen connections between panels. This step helps prevent cracks from developing as the home naturally expands and contracts over time.
Accurate taping is essential for achieving seamless walls.
Applying Joint Compound
After the tape has dried, multiple coats of joint compound are applied.
Each coat fills joints, screw heads, and minor surface imperfections while gradually creating a smooth, continuous surface. Additional coats are applied only after previous layers have completely dried.
Depending on project size and humidity levels, this process may take several days.
Sanding for a Smooth Finish
Sanding is one of the most important finishing stages.
Professionals carefully sand the dried joint compound to remove ridges, tool marks, and minor imperfections. The goal is to create walls that appear perfectly flat once painted.
Experienced contractors use specialized techniques to minimize dust while maintaining a smooth finish.
Repairing Minor Imperfections
Before declaring the project complete, contractors perform a detailed inspection.
Any remaining pinholes, small dents, uneven joints, or surface flaws are corrected before primer or paint is applied. This final attention to detail greatly improves the appearance of the finished walls.
Professional quality control ensures consistent results throughout the home.
Preparing for Paint
Once drywall finishing is complete, the surface is ready for primer.
Primer seals the drywall, improves paint adhesion, and creates a uniform surface for the final paint color. Skipping primer can result in uneven paint absorption and inconsistent finishes.
Most contractors recommend using high-quality primer for the best long-term performance.
Timeline Expectations
The length of a drywall project depends on several factors.
Project duration may be influenced by:
- Room size
- Ceiling height
- Number of repairs
- Drying time between compound coats
- Weather and humidity
- Project complexity
Simple repairs may take only a day or two, while larger installations often require several days or longer to complete properly.
Keeping the Job Site Clean
Professional contractors understand the importance of maintaining a clean work environment.
Throughout the project, debris is removed regularly, work areas remain organized, and protective coverings stay in place. After completion, leftover materials are collected and the space is cleaned before final inspection.
A tidy job site helps homeowners return to normal routines more quickly.
The Value of Professional Drywall Work
Quality drywall installation affects every finished surface inside your home.
Professional Drywall services provide accurate measurements, proper fastening, smooth finishing, and careful attention to detail that create walls ready for years of use. Skilled workmanship also reduces the risk of future cracks, uneven surfaces, and premature repairs.
Investing in professional installation helps ensure a durable and attractive result.
Choosing the Right Drywall Team
Selecting experienced professionals is just as important as choosing quality materials.
The Homedrywall contractors denver team understands every stage of the drywall process, from installation and finishing to final inspection. Their experience allows them to complete projects efficiently while maintaining high standards of craftsmanship and customer satisfaction.
Working with qualified contractors gives homeowners confidence that every detail has been completed correctly.
A professional drywall project involves far more than hanging drywall panels. Careful planning, precise installation, multiple finishing stages, detailed inspections, and thorough cleanup all contribute to walls that are smooth, durable, and ready for painting. Every phase plays an important role in achieving long-lasting quality and an attractive finished appearance.
By understanding what to expect throughout the process and hiring experienced professionals, homeowners can enjoy a stress-free project with results that enhance the beauty, comfort, and value of their home for many years to come.